Piercing by Sawing 101


Piercing by Sawing 101
Piercing by sawing is one of the first things that I teach you when you come to class. The jewelers saw frame is a tool that you can not avoid if you want to learn to make jewelry. Piercing by sawing can be one of the most frustrating places to start but it is so satisfying when finally get it.
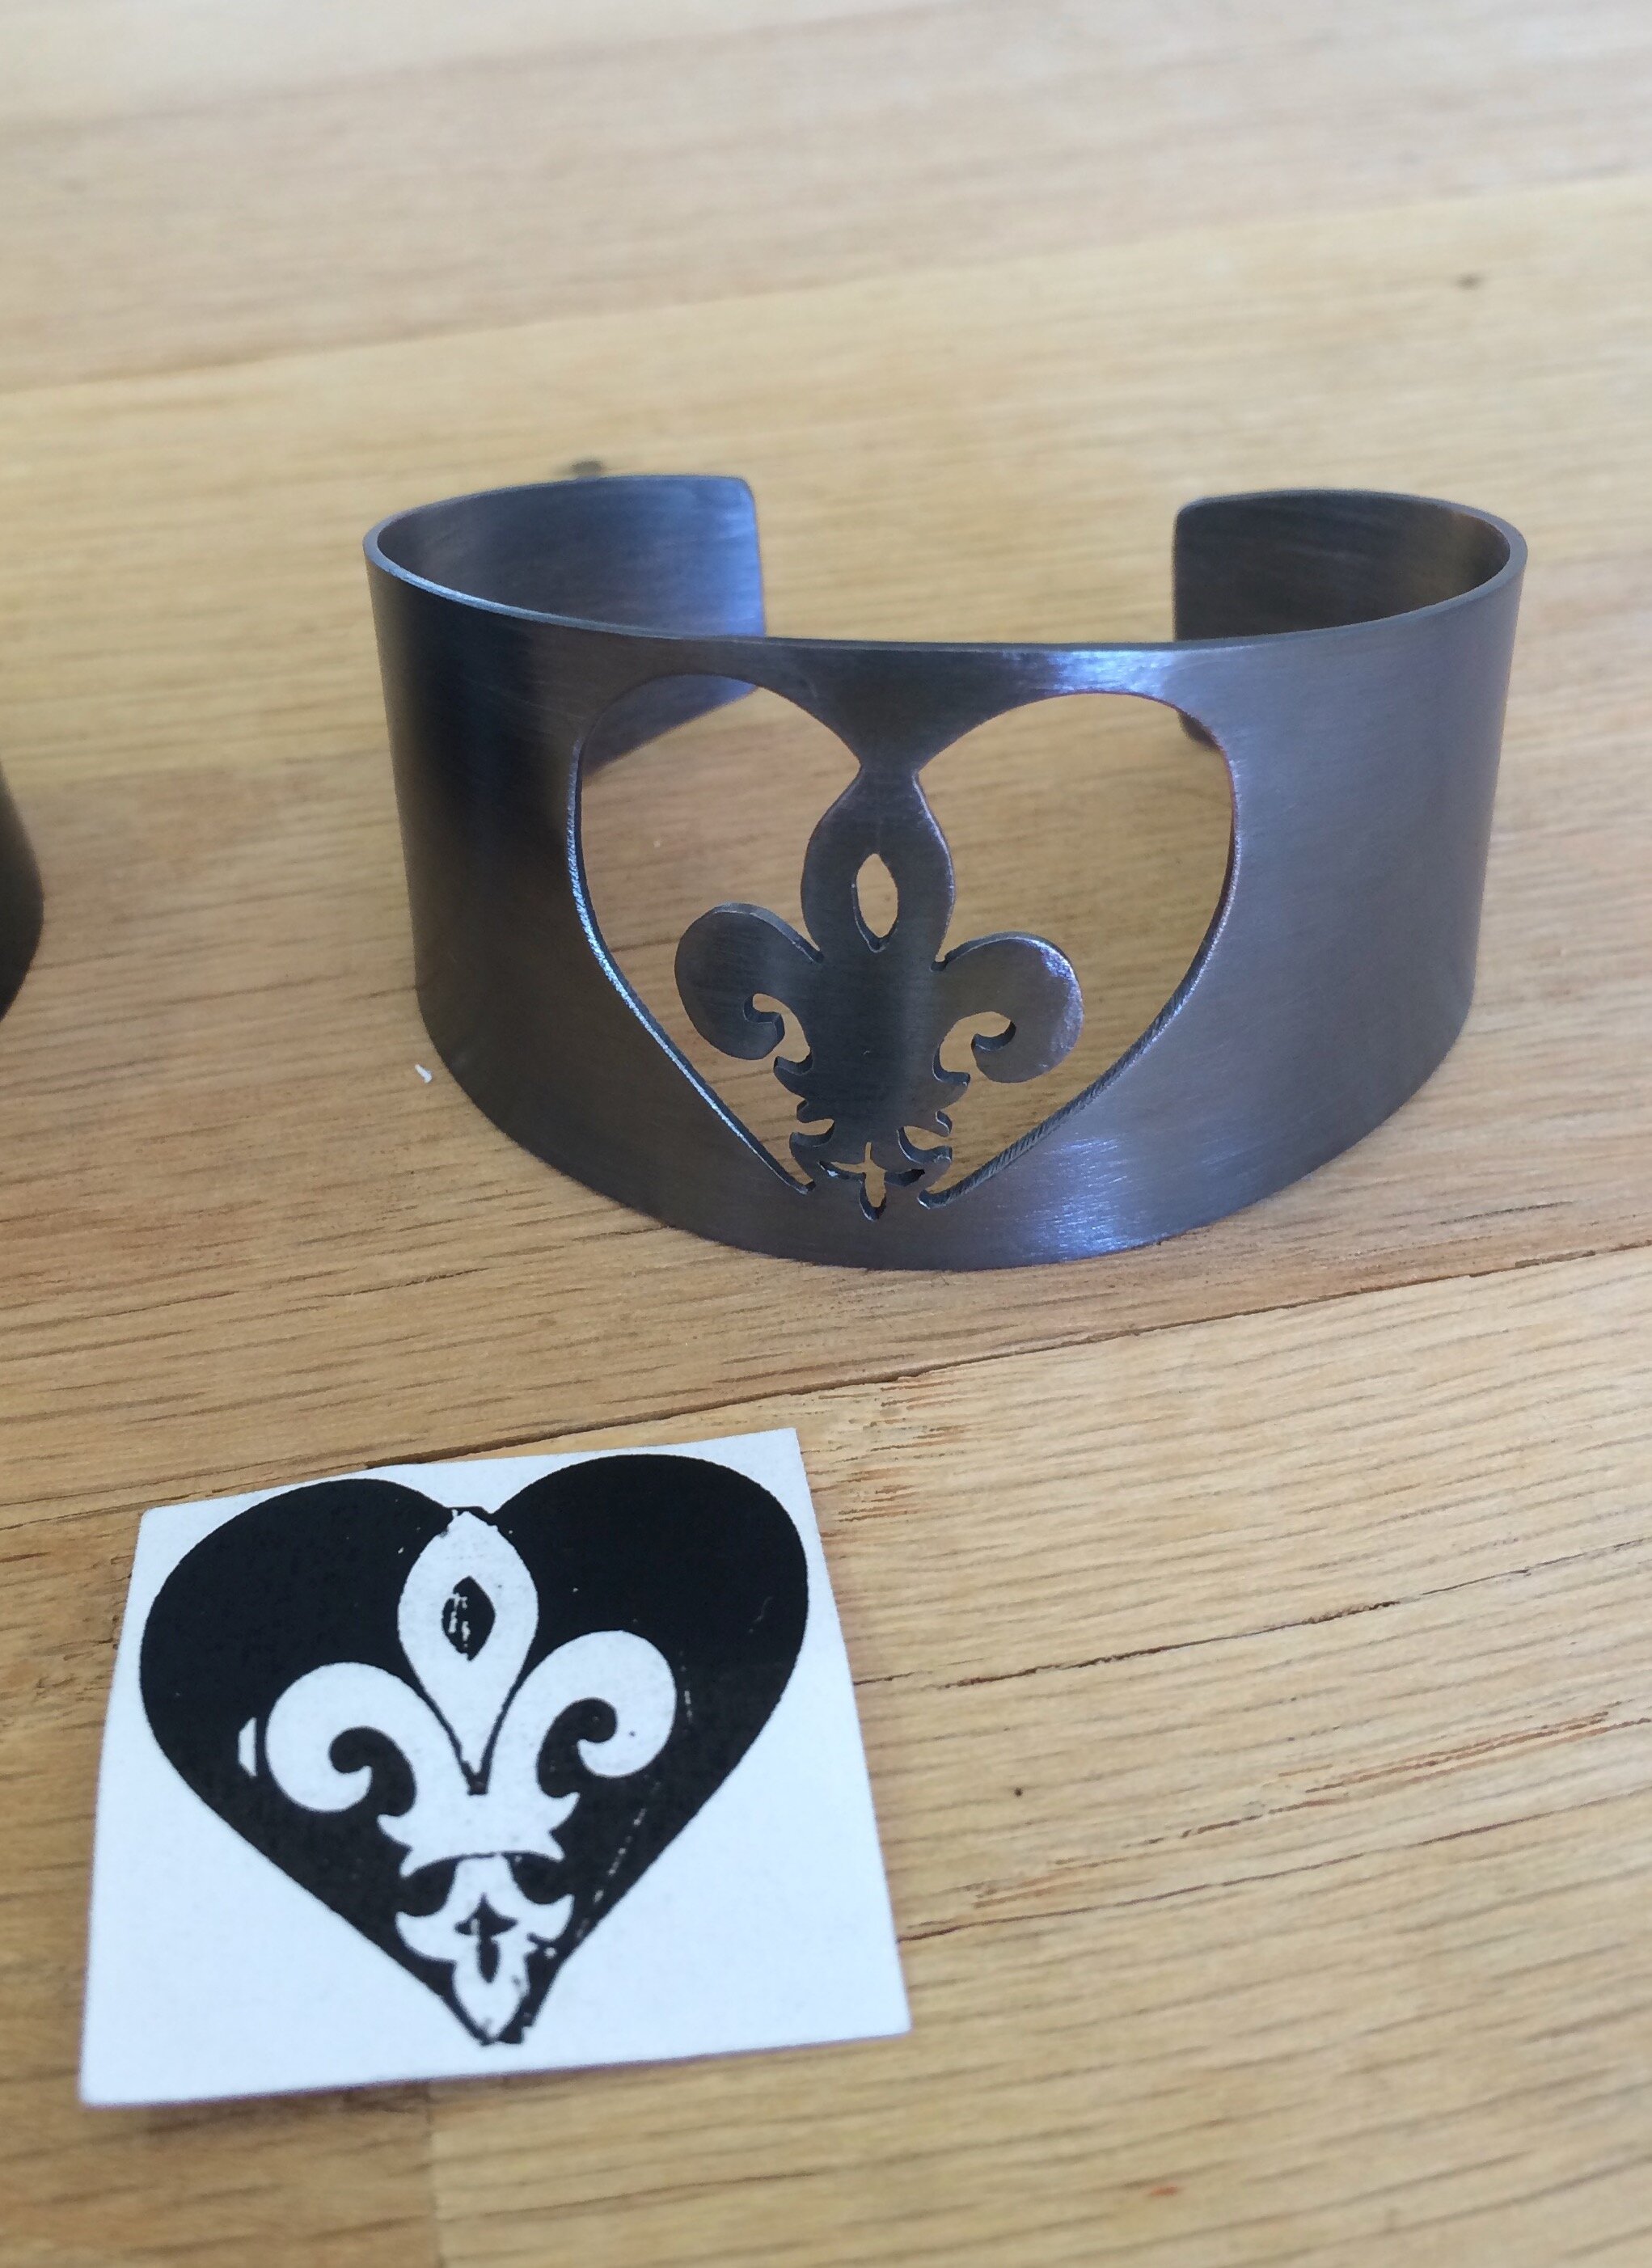
I start you off with a choice of a project cuff bracelet, hoop earrings, or pendant. I remember my first piercing by sawing assignment was to make a piece that had to have 100 openings. The challenge was not only the cutting but was the design. So I think that I usually go easy on you when I ask you to do 1-10 openings.
My saw frame is a german 4” deep frame with a cost of about $30. I know nowadays you can buy some fancy frames but I never made the switch and do not foresee me doing it in the future. But only time will tell. The depth of the throat of your frame can vary depending on what you are cutting. So for example with a cuff bracelet, you may need to switch to a 6” deep.

German Saw Frame
Jewelers saw blade sizes typically run from 2/0 thru 6/0. A 4/0 saw blade is for 24g to 22g, metal, 3/0 saw blades are for 20g-18g metal and 2/0 saw blades are for 16g and up. I usually use 5/0 and 6/0 saw blades for intricate designs. Don’t be fool by the numbers 2/0 being the small number and 6/0 being the largest. The thickness of the blades runs opposite just like a gauge of metal. Gauge refers to the thickness of the metal 0g is the thickest and 36g is the thinnest. A 2/0 saw blade is the thickest and a 6/0 saw blade is the thinnest.
Loading the saw frame can be done by resting the top of the saw frame on the desktop. The rest of the saw frame will be suspended in the air off the tabletop. The saw blade’s teeth should be facing down and away from the throat of the frame. Insert the saw blade into the jaws of the clamp all the way to the top of the frame. The length of the blade should end at the set screw on the opposite side. It should not touch the end of the frame. We want to have a little bit of space so that when we tighten the clamp on the lower portion of the frame we can push forward against the desk to create tension. This will create a spring in the blade and make it taught.

Saw blade teeth facing down
Rubber cement transfer
Transferring your design can be done by using a fine point sharpie. You have to be careful because your hand grease can remove the sharpie. You can use a tool called a scribe to trace the outline of the Shaprie marks. This will cut into the metal and will not be rubbed off. You can use carbon paper to transfer the design by taping it down onto the metal and drawing on to the carbon appear or tracing your design on top of it. A carbon imprint of your drawing will be left behind. You can also use rubber cement to glue your drawing down onto your metal. When using rubber cement you must put a thin coat of glue on the metal and on the paper. Let the glue dry. After the glue is dry bring the metal and paper together this will create a tight bond. This is my top pick for transferring the metal.

Drilling holes for piercing.
Drilling a hole in each section for piercing is the next step. Before you can drill the hole you must use a center punch to create a divot or seat for the drill bit to sit into. The seat helps to steady the bit so it does not skip around on the piece of metal and mar it. A center punch is a steel tool with a sharp point at the tip. Place the metal on a steel block and tap the center punch with a rawhide mallet. A tap is enough to make the seat you do not need to drive this through the metal let the drill bit do the work. Select a drill bit that is just slightly larger than the saw blade you can eyeball this. Use a flex shaft or vertical drill press to do the drilling. At last, we are ready to cut. Insert saw-blade through the drill hole push metal all the way to the top of the frame. Ally pressure on the frame and tighten the blade. Rest metal on your bench pin. Hold your frame at a 90degree angle and begin to saw. You can put a touch of bur life on your blade to lubricate. Do not overload the blade with bur life or wax this will clog the blade. Let the blade do the cutting. Do not push. Try and open up your thumb and pointer finger. I notice that these two fingers try and fight the direction of the saw frame. Try and hold the handle lightly. Use the full length of the blade. And when turning you must saw in place to make the turn like a sewing machine. And do your best to follow the line. DOn’t get upset when the blade breaks. I buy them by the gross and don’t look back.
Next up Filing and Sanding. Happy Sawing!

Alan Revere’s Piercing by Sawing project

Sample Piercing by Sawing